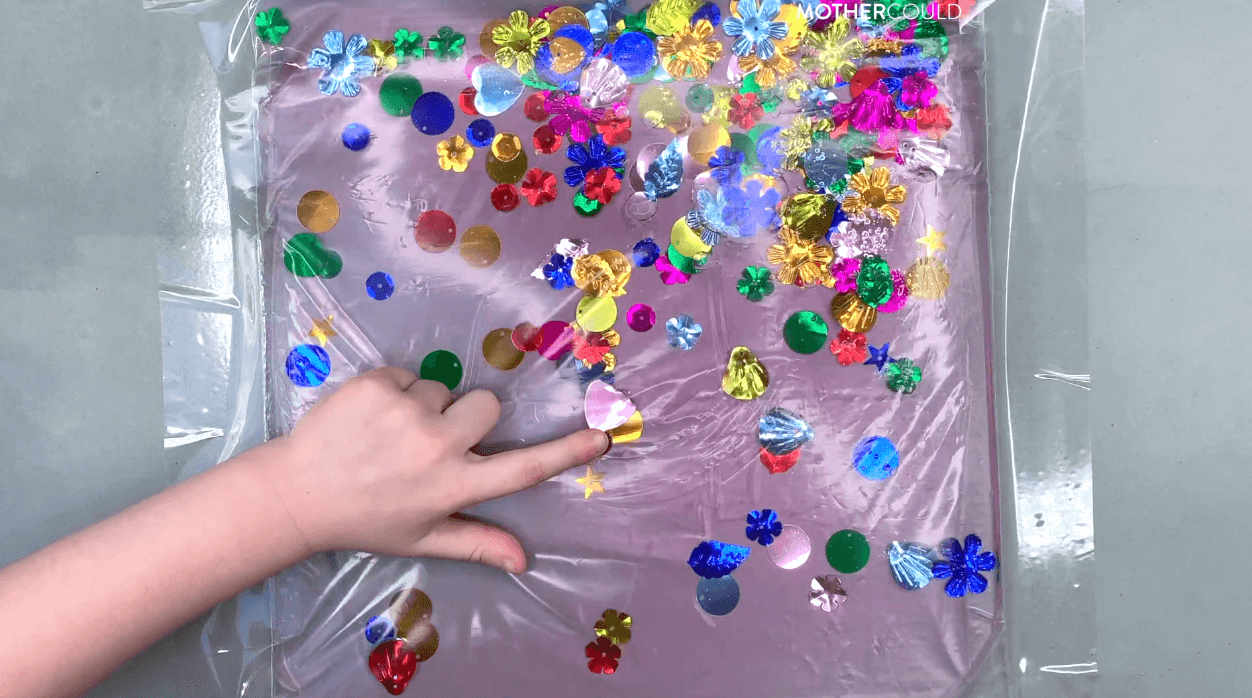
DISCOVERY DIY SENSORY BAG
DISCOVERY DIY SENSORY BAG
If you have not done a sensory bag before this is a must try water sensory bag. It sets up in less than 2 minutes, it is mess free and can be done with items around the house. Whenever I need a few minutes to myself, I whip one of these together. You can add anything that is waterproof and fits into the bag. A lot of people make these with clear hair gel, but I prefer water for this one because it is basically free and if the bag opens, it is just a matter of cleaning up some water.
Suggest not adding any sharp items inside the bag that might rip the bag open. But if you want to make the bag resistant to baby nails, you can add a second layer of clear tape on top to make stronger. A fun sensory bag idea with this activity is ask your little ones to discover colors or shapes by searching and identifying inside the bag. As they play and discover new elements, they also practice fine motor skills!
MATERIALS:
INSTRUCTIONS:
Fill the bag with dry waterproof items and add water to about half the bag.
Remove all the air before closing.
Let the child explore mess free!
Tip: To remove the air from inside the bag, dip the bag in a tub of water leaving the seam out. Zip the seam together once the air is out.

