SENSORY CALMING BOTTLES DIY | TOYS FOR CALMING YOUR CHILD
Sensory bottles, also referred to as a calm down jar, are some of our favorite DIY sensory toys. Kids of any age engage with them (including the big kid parent) and they are perfect to introduce to babies and toddlers too! They are relatively inexpensive to make at home and last a long time.
Sensory Calming Bottles DIY
What are the Benefits of Sensory Calming Bottles?
Oftentimes, you can find sensory bottles at doctor's offices, classrooms, and libraries as they are quiet and engaging calming toys that provide an opportunity for mood regulation and conversation.
Sensory Bottles Can Be Calming
Learning to calm our bodies as adults can be hard sometimes, and it can be even more taxing on children who are still learning, growing, and developing. Incorporating sensory play is a way to aid our children’s brain development as well as their nervous system as it learns to regulate on its own.
These bottles are a great tool for children (or adults!) who struggle with:
Hyperactivity
Emotional regulation
Sensory sensitivities
Sensory water bottles tend to be slower moving and have different ingredients or items interacting with each other, which makes them visually engaging. This visual can give kids’ brains an opportunity to pause and explore as they watch or feel the bottle in their hands while also fine-tuning those fine-motor skills. You can point at different objects inside the bottle, follow them with your finger, shake the bottle and work on language development as you spot new items inside the bottle.
Sensory Bottles Are Clean & Great On-The-Go
Sensory bottles are also portable and mess-free, making them something you can easily toss into the diaper bag to have on hand for babies and toddlers wherever you go!
They also make a great gift or a great do-it-together activity with your toddlers! You can make thematic sensory bottles too, some ideas include:
Fall-themed sensory bottles (leaves, orange, and yellow glitter)
Ocean sensory bottles (blue water, fish, & seaweed)
Flower-themed sensory bottles
Space-themed too (dark blue water, glitter, and planets)
The options are endless!
Building nerve connections in the brain, sensory play is a way for children to process emotions, concepts, or tasks by regulating their internal systems.
3 SENSORY BOTTLES DIY IDEAS
Important Tip: Before we jump into any of the different types of DIY sensory bottles you can make, it’s important that you need to glue the lid onto every one that you make. This ensures that children can’t get the lid off, causing a mess or ingesting something.
Here are 3 different DIY calm sensory bottle ideas you can make at home with your littles. These are all great preschool inspirations, too, that you can incorporate at school or for quiet times.
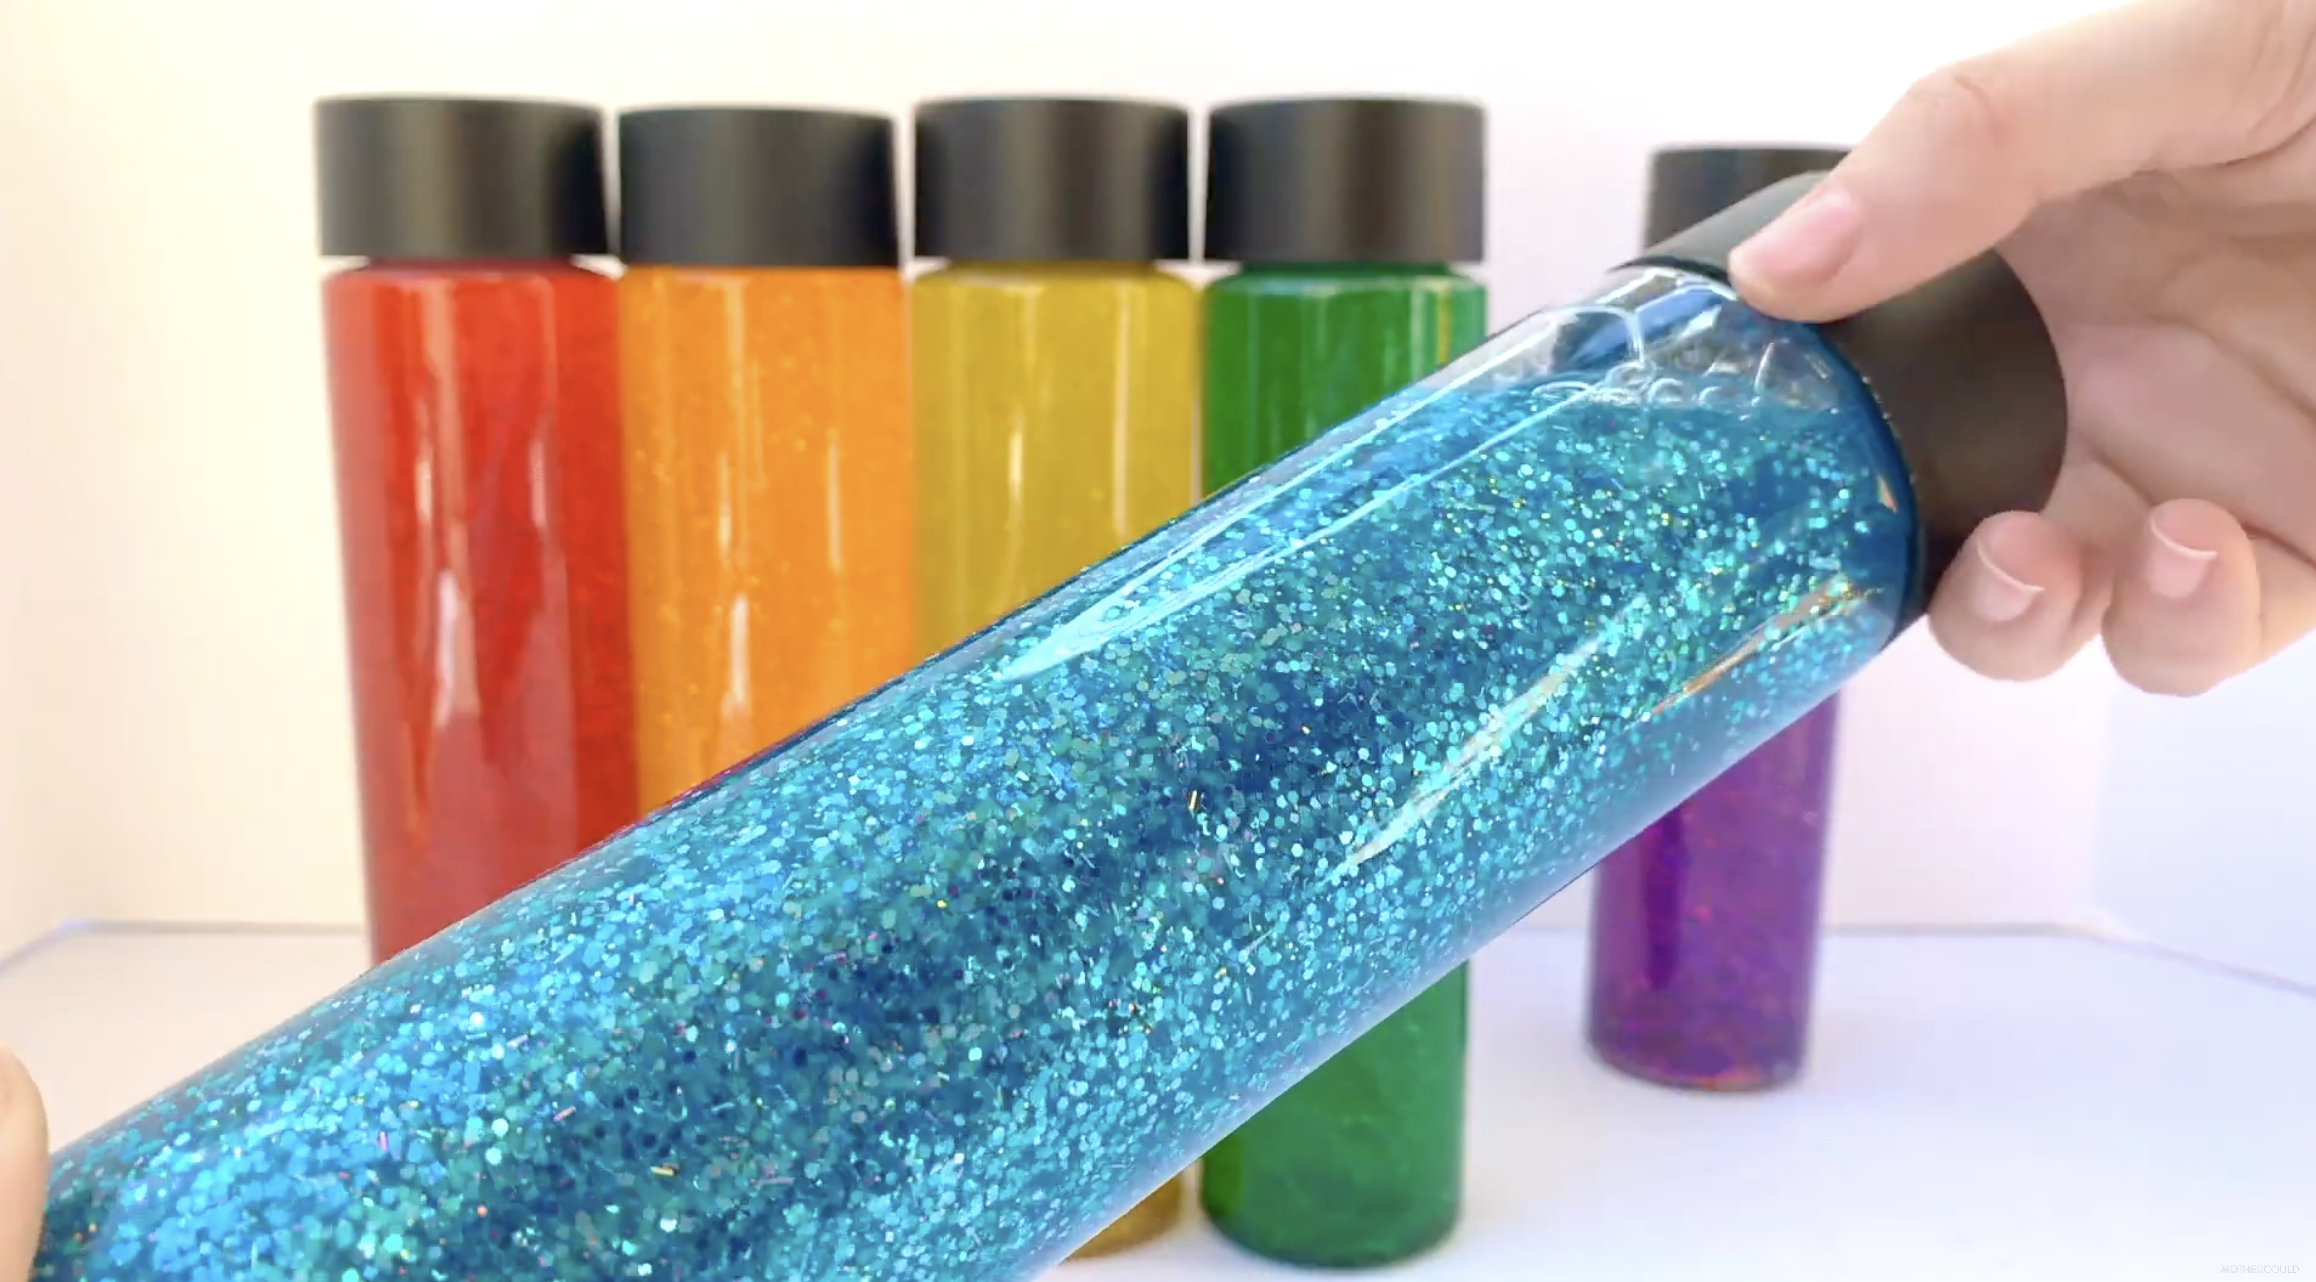
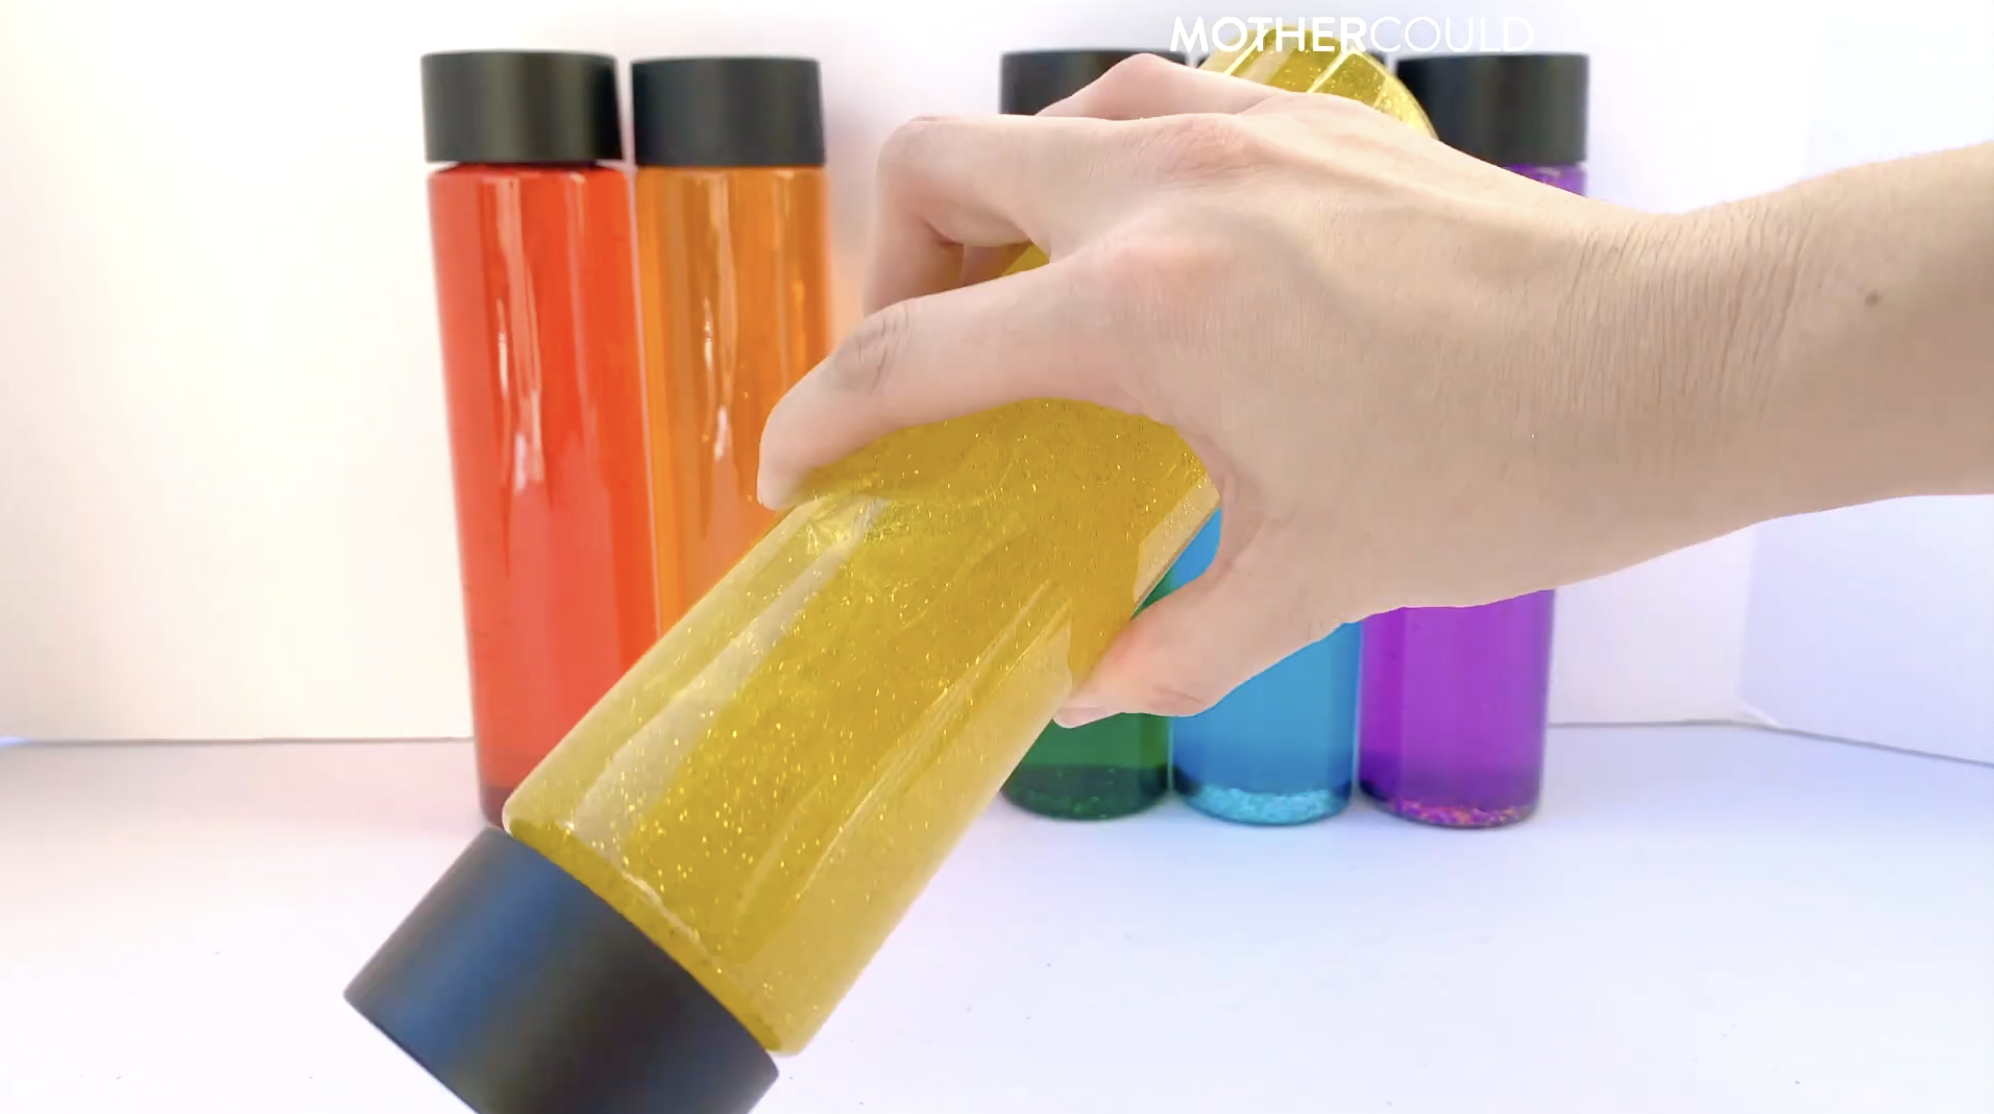
1. GLITTER SENSORY BOTTLE
I love these glitter sensory bottles! They are easy to make and watching the glitter is very soothing. These simple sensory bottles can be a great tool to use to calm our little ones. It gives their body and brain a way to actively calm their nervous system as they watch the glitter slowly swirl around.
WHAT YOU’LL NEED:
Plastic bottle - using recycled plastic bottles will keep this cost-effective and eco-friendly. You can also use a bottle like these for something a bit more sturdy.
Clear glue - hair gel or corn syrup would also work for this!
Hot water
INSTRUCTIONS:
Fill the bottle 1/3 of the way with glue
Add glitter (as much as you’d like), 1-2 drops of food coloring in your little ones favourite color, and hot water.
Close the bottle and shake well.
Once it has reached the color and amount of glitter you want, use the hot glue gun to glue the lid shut. Important step to avoid leaks or accidents. You can also use super glue for this step.
Tip: If you want to skip a few ingredients, you could also just use color glitter glue instead of clear glue, food coloring, and glitter.
2. GLOW IN THE DARK
These are a great spin on the classic glitter bottle and would be a great addition to a slumber party or movie night. For kids who are afraid of the dark or prone to anxiety at bedtime, the glow-in-the-dark DIY sensory bottle would be a great tool to keep on your child’s nightstand as a way for them to calm themselves.
WHAT YOU’LL NEED:
Plastic bottle
Glow-in-the-dark object - water beads, stars, loom bands, glow sticks, etc are all great options
Warm water
Hot glue or super glue
INSTRUCTIONS:
First, add your desired amount of beads or other glow-in-the-dark object of your choosing.
Fill up with water.
Use hot glue or super glue to seal the lid shut to avoid any messes.
Tip: There really are endless ways you can make this one. You could even add glow-in-the-dark glitter to make this one even more mesmerizing in the dark! If you’d like to use this sensory bottle as more of a nightlight, use something with a longer glow life such as glow sticks or glow bracelets.
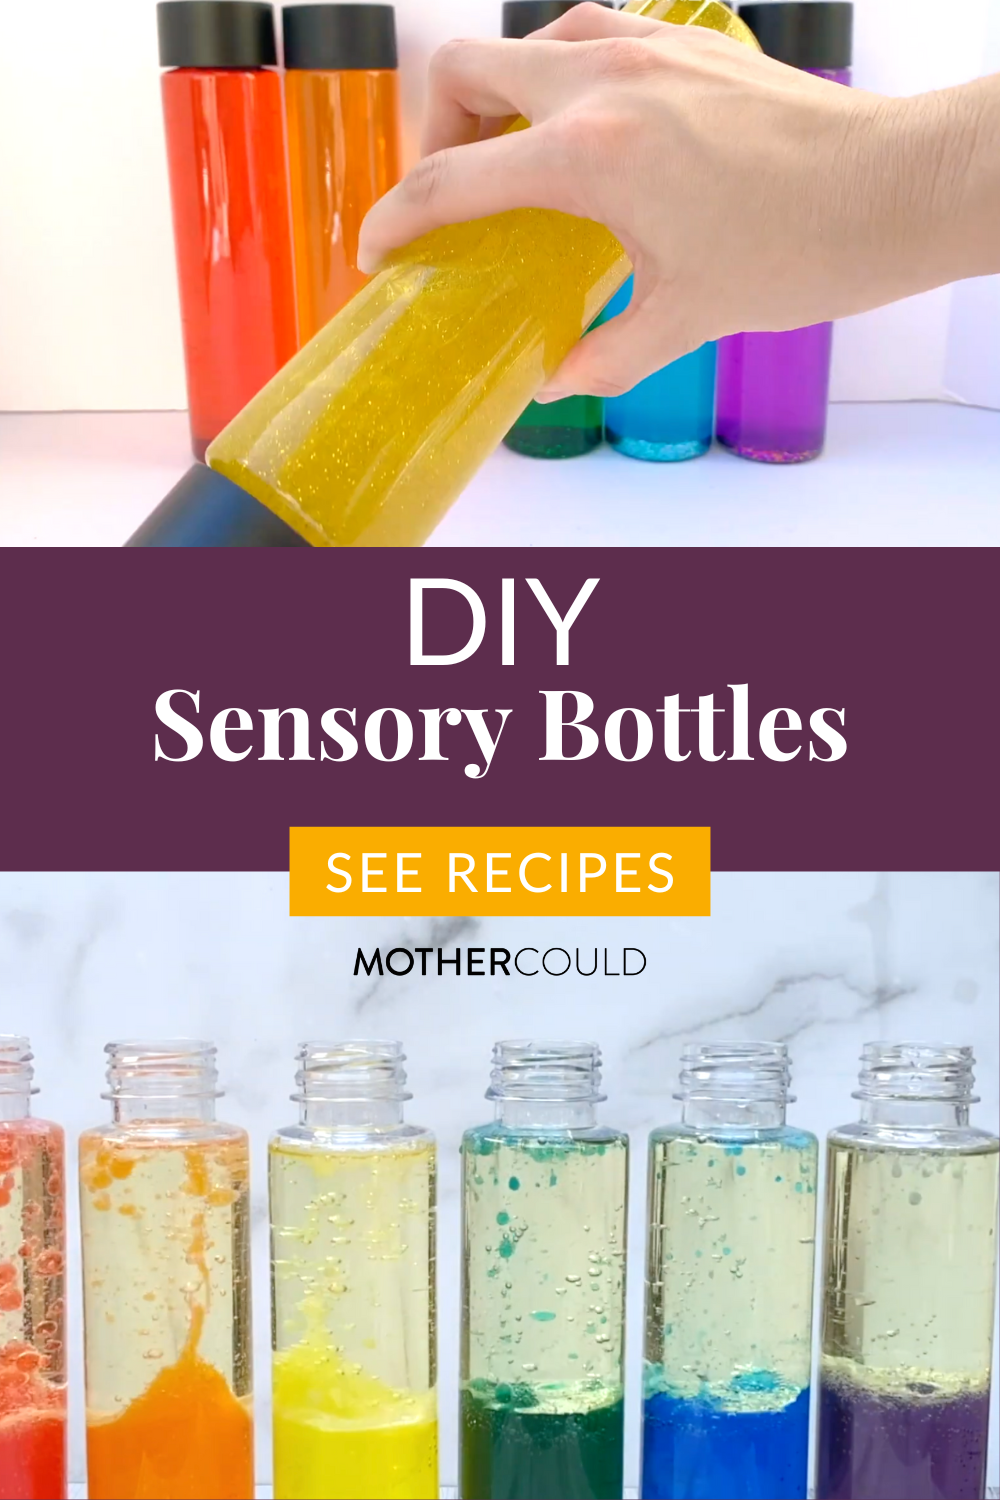
3. LAVA LAMP SENSORY BOTTLE
I love lava lamp sensory bottles because they are fun to watch both in the daytime and nighttime! It is fun to watch the materials separate and move around. These are sure to be a hit with the littles!
WHAT YOU’LL NEED:
Vegetable oil or similar cooking oil - you can also use baby oil for this part
Water
INSTRUCTIONS:
Fill bottle ⅓ of the way with water
Add 2-3 drops of food coloring
Replace cap and swirl to mix.
Fill the rest of the bottle with oil, leaving about 1 inch empty at the top.
Add effervescent tablets to the mixture.
Storage: Recap the bottle and store it at room temperature. The reactivate the bubbling action, add more effervescent tablets to the bottle.
Tip: If you want to make this a glow-in-the-dark lava lamp, simply add glow-in-the-dark glitter or beads and use neon food coloring.
I hope that making these with your kids at home or in the classroom is so much fun! Don’t be afraid to get creative with what items you add to your DIY sensory bottles. You truly can’t go wrong, and the options are endless!
For this and many other sensory play recipes and ideas, check out the Mothercould in Your Pocket resource, where we encourage learning through play with fun, easy, and accessible play recipes using common household items so you can incorporate sensory play at home, on-the-go, and in the classroom and inside one place for easy and quick access.
Was this helpful? Save it for later!
Click “Save” on the image below to Pin it to your Pinterest boards.


